How to put all the pieces together
|
Here you can find the step by step guide
Step 1A: you have decide to do it by yourself. We provide the Photoshop basic layout with the guidelines and a couple of Patches as example that could be very useful to start with. Look for the Space Patch on the Web and download the .png file (Wikipedia is a really good source), then copy and paste it as a new level in the .psd file. Use the function "free transformation" to resize the image to the optimal size (inside a square 7x7cm). The guidelines will help you. We choose a standard 7x7cm for the regular Space Patches but quite a lot of patches have two different dimensions. In that case you have to resize it so that the longer side will be max 8cm long. Once a couple of patches have been correctly resized and positioned you have to write the corresponding tags and then export all the level into a .jpg file ready to be printed. Here you can get the Photoshop layout Step 1B: you do not have to time to do that or you think is too difficult for you so you prefer to get all photographic prints ready to be used. Here you can order the photographic prints Step 2: download the "List of all the Human Spaceflights ordered by year" and all the "Mission Description Tags" you prefer and cut them out. Every page (A4 format) includes 4 different MDT and the guidelines for cut them. They will fit perfectly into the 10x15cm (4"x6") pocket album page. Here you can download the Mission Description Tags and the List Step 3: cut out the Space Patches from the photographic prints, cut the Mission Description Tags, glue the Patches on the corresponding Tags, put the Tags in the pockets of the photo album page. I suggest to do 4 Patches at the time. |
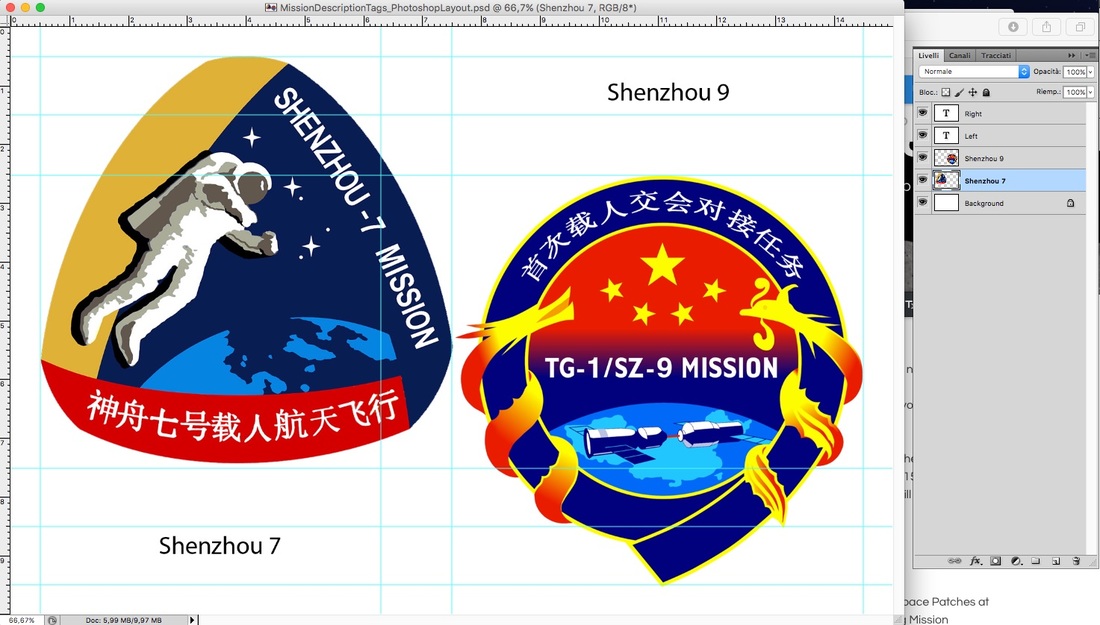
The layout file in Photoshop format
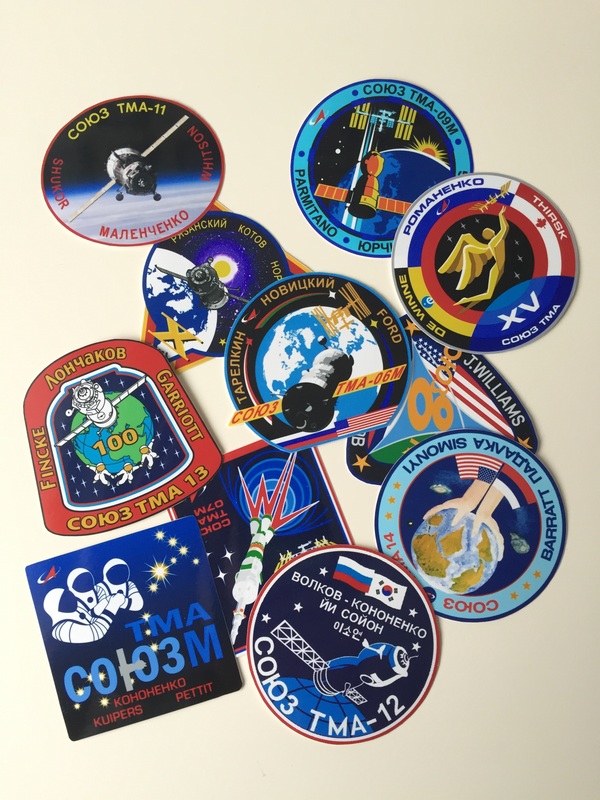
Some of the Space Patches ready to be put into the collection
|
